Photographing the Northern Lights (Aurora Borealis) is a dream for many photographers, and there’s no better place to capture this natural wonder than Alta, Norway.
Located in the heart of the Arctic, Alta offers some of the most breathtaking views of the aurora. However, capturing these elusive lights on camera can be challenging, especially in the cold and dark conditions.
To help you make the most of your experience, here’s a step-by-step guide on how to photograph the Northern Lights in Alta.
1. Choose the Right Time and Location
Best Time to See the Northern Lights in Alta
The Northern Lights are best viewed during the dark winter months, from late September to early April. The key is to have clear, dark skies, which are more common between October and March, as the sun doesn’t rise much during this period. While auroras can appear at any time of night, your best chance of seeing them is between 9 PM and 2 AM.
Location Matters
Alta is an excellent base for aurora photography due to its latitude and relatively clear skies. To get the best shots:
- Head away from city lights: Light pollution from the town can interfere with capturing the aurora’s full brilliance. Opt for spots outside the city, such as near the Alta Fjord, or head up to higher ground for better views.
- Check the weather forecast: You need clear skies to see the Northern Lights. Before setting out, use an app or local weather reports to find areas with minimal cloud cover.
2. Gear You’ll Need
Camera
A DSLR or mirrorless camera with manual settings is essential for capturing the Northern Lights. You need full control over exposure, aperture, and ISO to get the best results.
Lens
A wide-angle lens with a large aperture (such as f/2.8 or wider) is ideal. The wide angle will allow you to capture both the Northern Lights and the expansive Arctic landscape, while the large aperture will help let in more light during the dark conditions.
Tripod
A sturdy tripod is a must. The Northern Lights often require long exposure times, and even the slightest movement can result in blurry photos. Bring a tripod that can withstand cold temperatures and uneven terrain.
Remote Shutter Release
A remote shutter release will prevent any shake that could occur from manually pressing the camera’s shutter button. If you don’t have one, use your camera’s timer function to delay the shutter by 2–5 seconds.
Extra Batteries
Cold temperatures can drain your batteries quickly, so bring extra fully charged batteries and keep them in a warm pocket to extend their life.
3. Camera Settings for Northern Lights Photography
Manual Mode
To properly photograph the Northern Lights, you’ll need to shoot in Manual Mode, as automatic settings will not handle the low light well.
Shutter Speed
The Northern Lights can vary in intensity and movement, so shutter speed is key. Start with a shutter speed between 5 to 15 seconds. If the aurora is moving quickly, use a shorter exposure (around 5 seconds) to prevent blurring. For slower or fainter auroras, you can increase the exposure to 20-25 seconds to capture more light.
Aperture
A wide aperture like f/2.8 is ideal for Northern Lights photography. This will allow your lens to let in as much light as possible, which is crucial when photographing in the dark.
ISO
Start with an ISO of around 800 to 1600, adjusting based on the brightness of the aurora and ambient light. If the lights are faint, you might need to increase the ISO to 3200 or higher, but beware of introducing noise in your photos.
Focus
Autofocus won’t work well in the dark, so it’s important to use Manual Focus. Focus on a distant light source or, if your lens has one, use the infinity symbol (∞) to manually focus. Another option is to focus on the moon or a bright star, then switch your lens to manual focus to lock it in place.
White Balance
For Northern Lights, start with a Daylight (5000-6000K) or Tungsten white balance setting. Daylight will maintain the natural colors of the aurora, while Tungsten can help reduce the blue cast of the sky and enhance the green tones. You can always adjust the white balance in post-processing, but these settings provide a good starting point.
4. Composition Tips
Include the Foreground
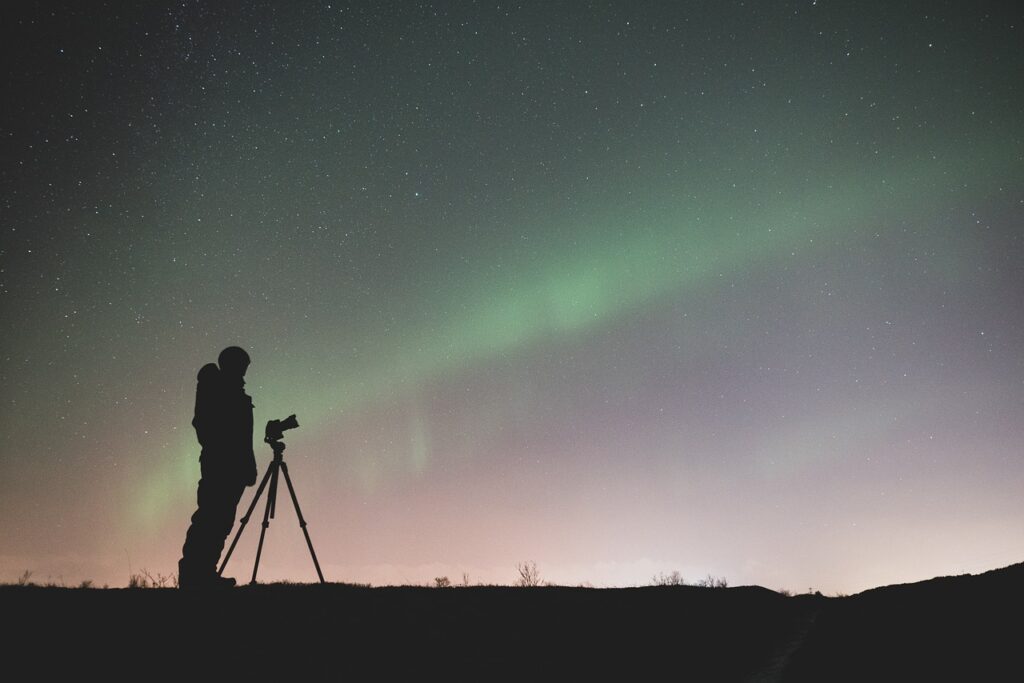
While the Northern Lights are the main attraction, adding a foreground element can make your photo more interesting. Consider incorporating a silhouette of a mountain, trees, or a frozen lake to give your image context and depth.
Experiment with the Landscape
Alta offers stunning landscapes to complement your Northern Lights shots. Use wide-angle compositions to capture both the sky and the Arctic scenery. If you’re near the fjords, you can include reflections of the aurora in the water for a more dramatic effect.
Don’t Overexpose
While it’s tempting to push your settings to capture as much light as possible, be careful not to overexpose the Northern Lights. If the aurora is particularly bright, lower your ISO or reduce the exposure time to maintain the detail and color in the lights.
5. Be Prepared for Cold Conditions
Dress in Layers
Alta’s winters are extremely cold, and you could be standing outside for hours waiting for the lights to appear. Wear thermal layers, a windproof and waterproof outer layer, and insulated boots. Don’t forget a hat, scarf, and gloves with touch-sensitive fingertips, so you can adjust your camera settings without freezing your hands.
Keep Your Gear Warm
Cold weather can affect your camera’s performance. Bring a microfiber cloth to wipe away condensation and keep your camera bag insulated. To prevent your lenses from fogging up when transitioning from cold to warm areas, let your gear gradually warm up in a sealed bag when you go indoors.
6. Post-Processing Your Northern Lights Photos
Even with perfect settings, your Northern Lights photos may need a little post-processing to bring out their best. In Lightroom or Photoshop, you can:
- Increase exposure slightly if the image is too dark.
- Adjust the white balance to enhance the colors of the aurora.
- Use noise reduction tools to eliminate grain from higher ISO settings.
- Adjust contrast and clarity to give the aurora more definition and make the stars stand out.
Photographing the Northern Lights in Alta is a rewarding and magical experience, but it requires preparation, patience, and the right gear. By following these tips on timing, camera settings, and composition, you’ll have a much better chance of capturing stunning images of the aurora in all its glory.